
Chocolate-Cinnamon Sugar Cookies
/
I just love these spiced chocolate sugar cookies! They taste like Mexican chocolate, with cinnamon warming the sweet chocolate notes. I use just a little bit of cocoa for more of a milk chocolate flavor than a dark chocolate one. See the notes below the recipe card for ingredient/decorating tips.
Another critical ingredient for these cookies is meringue powder, which helps the icing set up hard so that you can stack and package the cookies with no worries of destroying your beautiful decorations. You can find it in the baking section of craft stores.

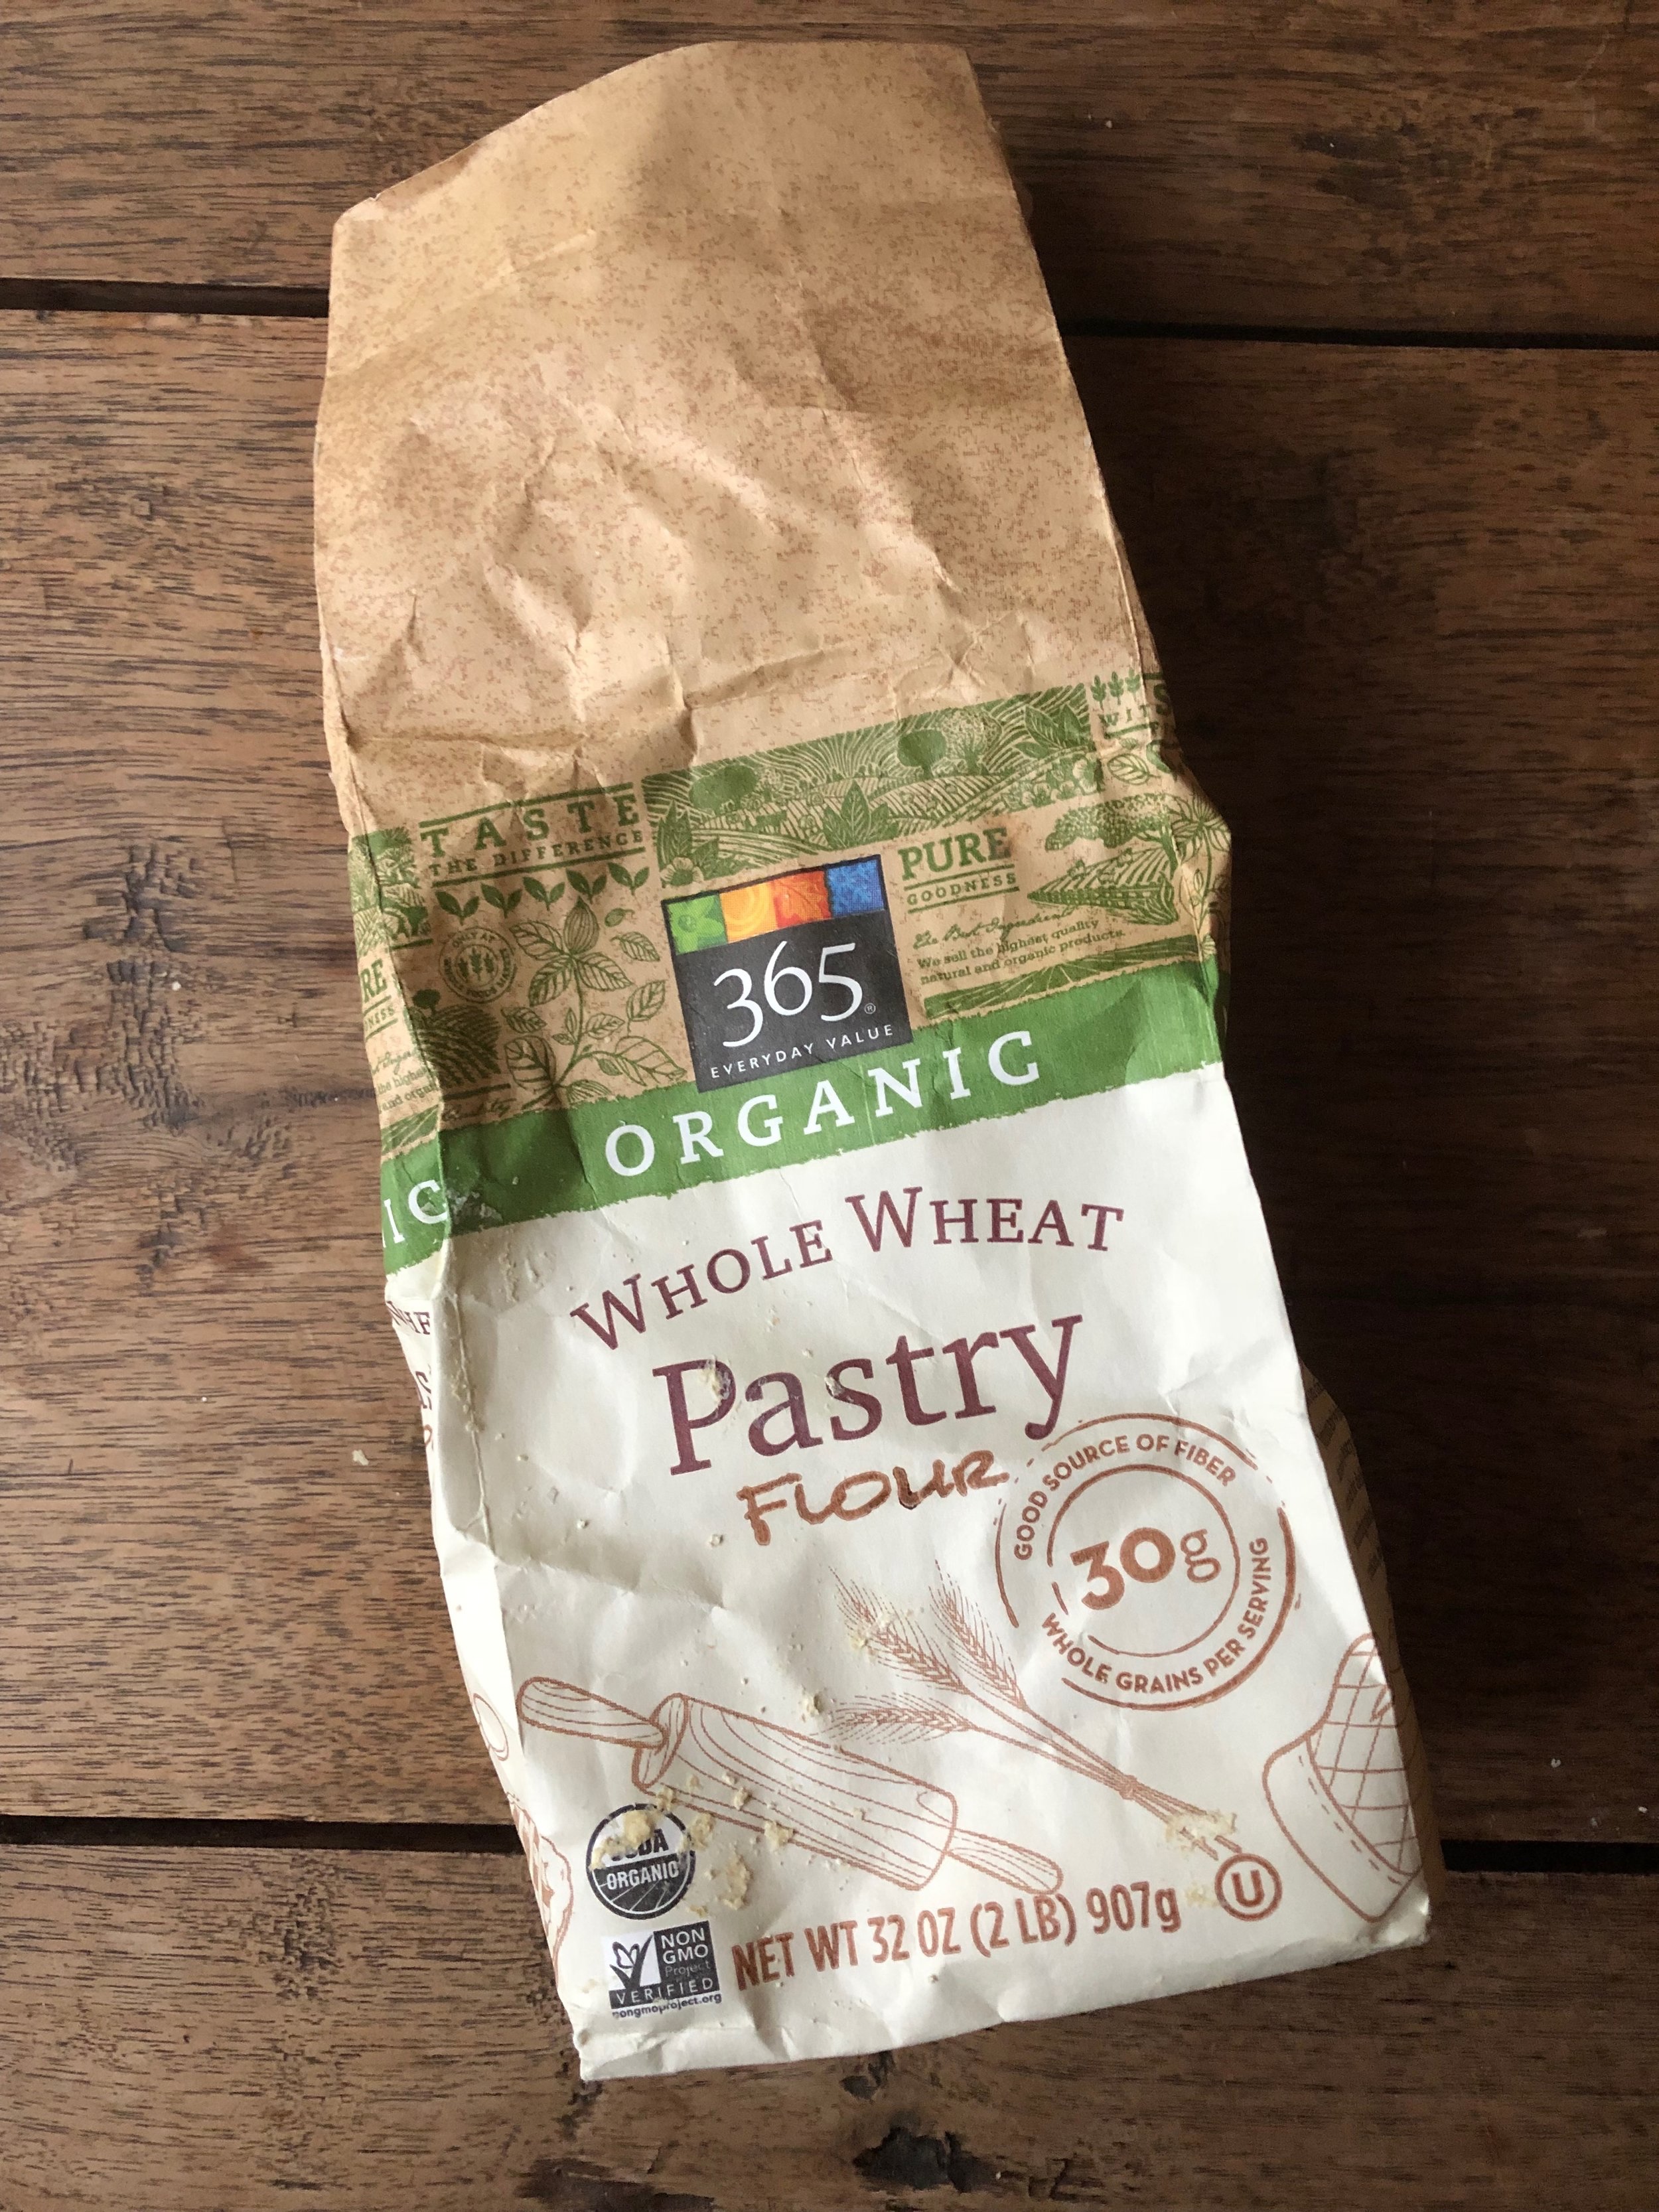
One of my favorite ingredients ever is whole-wheat pastry flour. I’ve touted it before, and I’ll do so here again! Its fine texture works beautifully in all types of baking recipes, and it allows me to make 100% whole-grain treats with great texture. Here’s the kind I use (the house brand from Whole Foods).
Now for the fun part, the decorations. Piping is easy and goes quickly. You can use a piping bag with a #1 or #2 tip (which is what I did), or use a zip-top plastic bag and cut a tiny hole in one corner to pipe from. My piping skills are not very good, but the cookies still look pretty great!

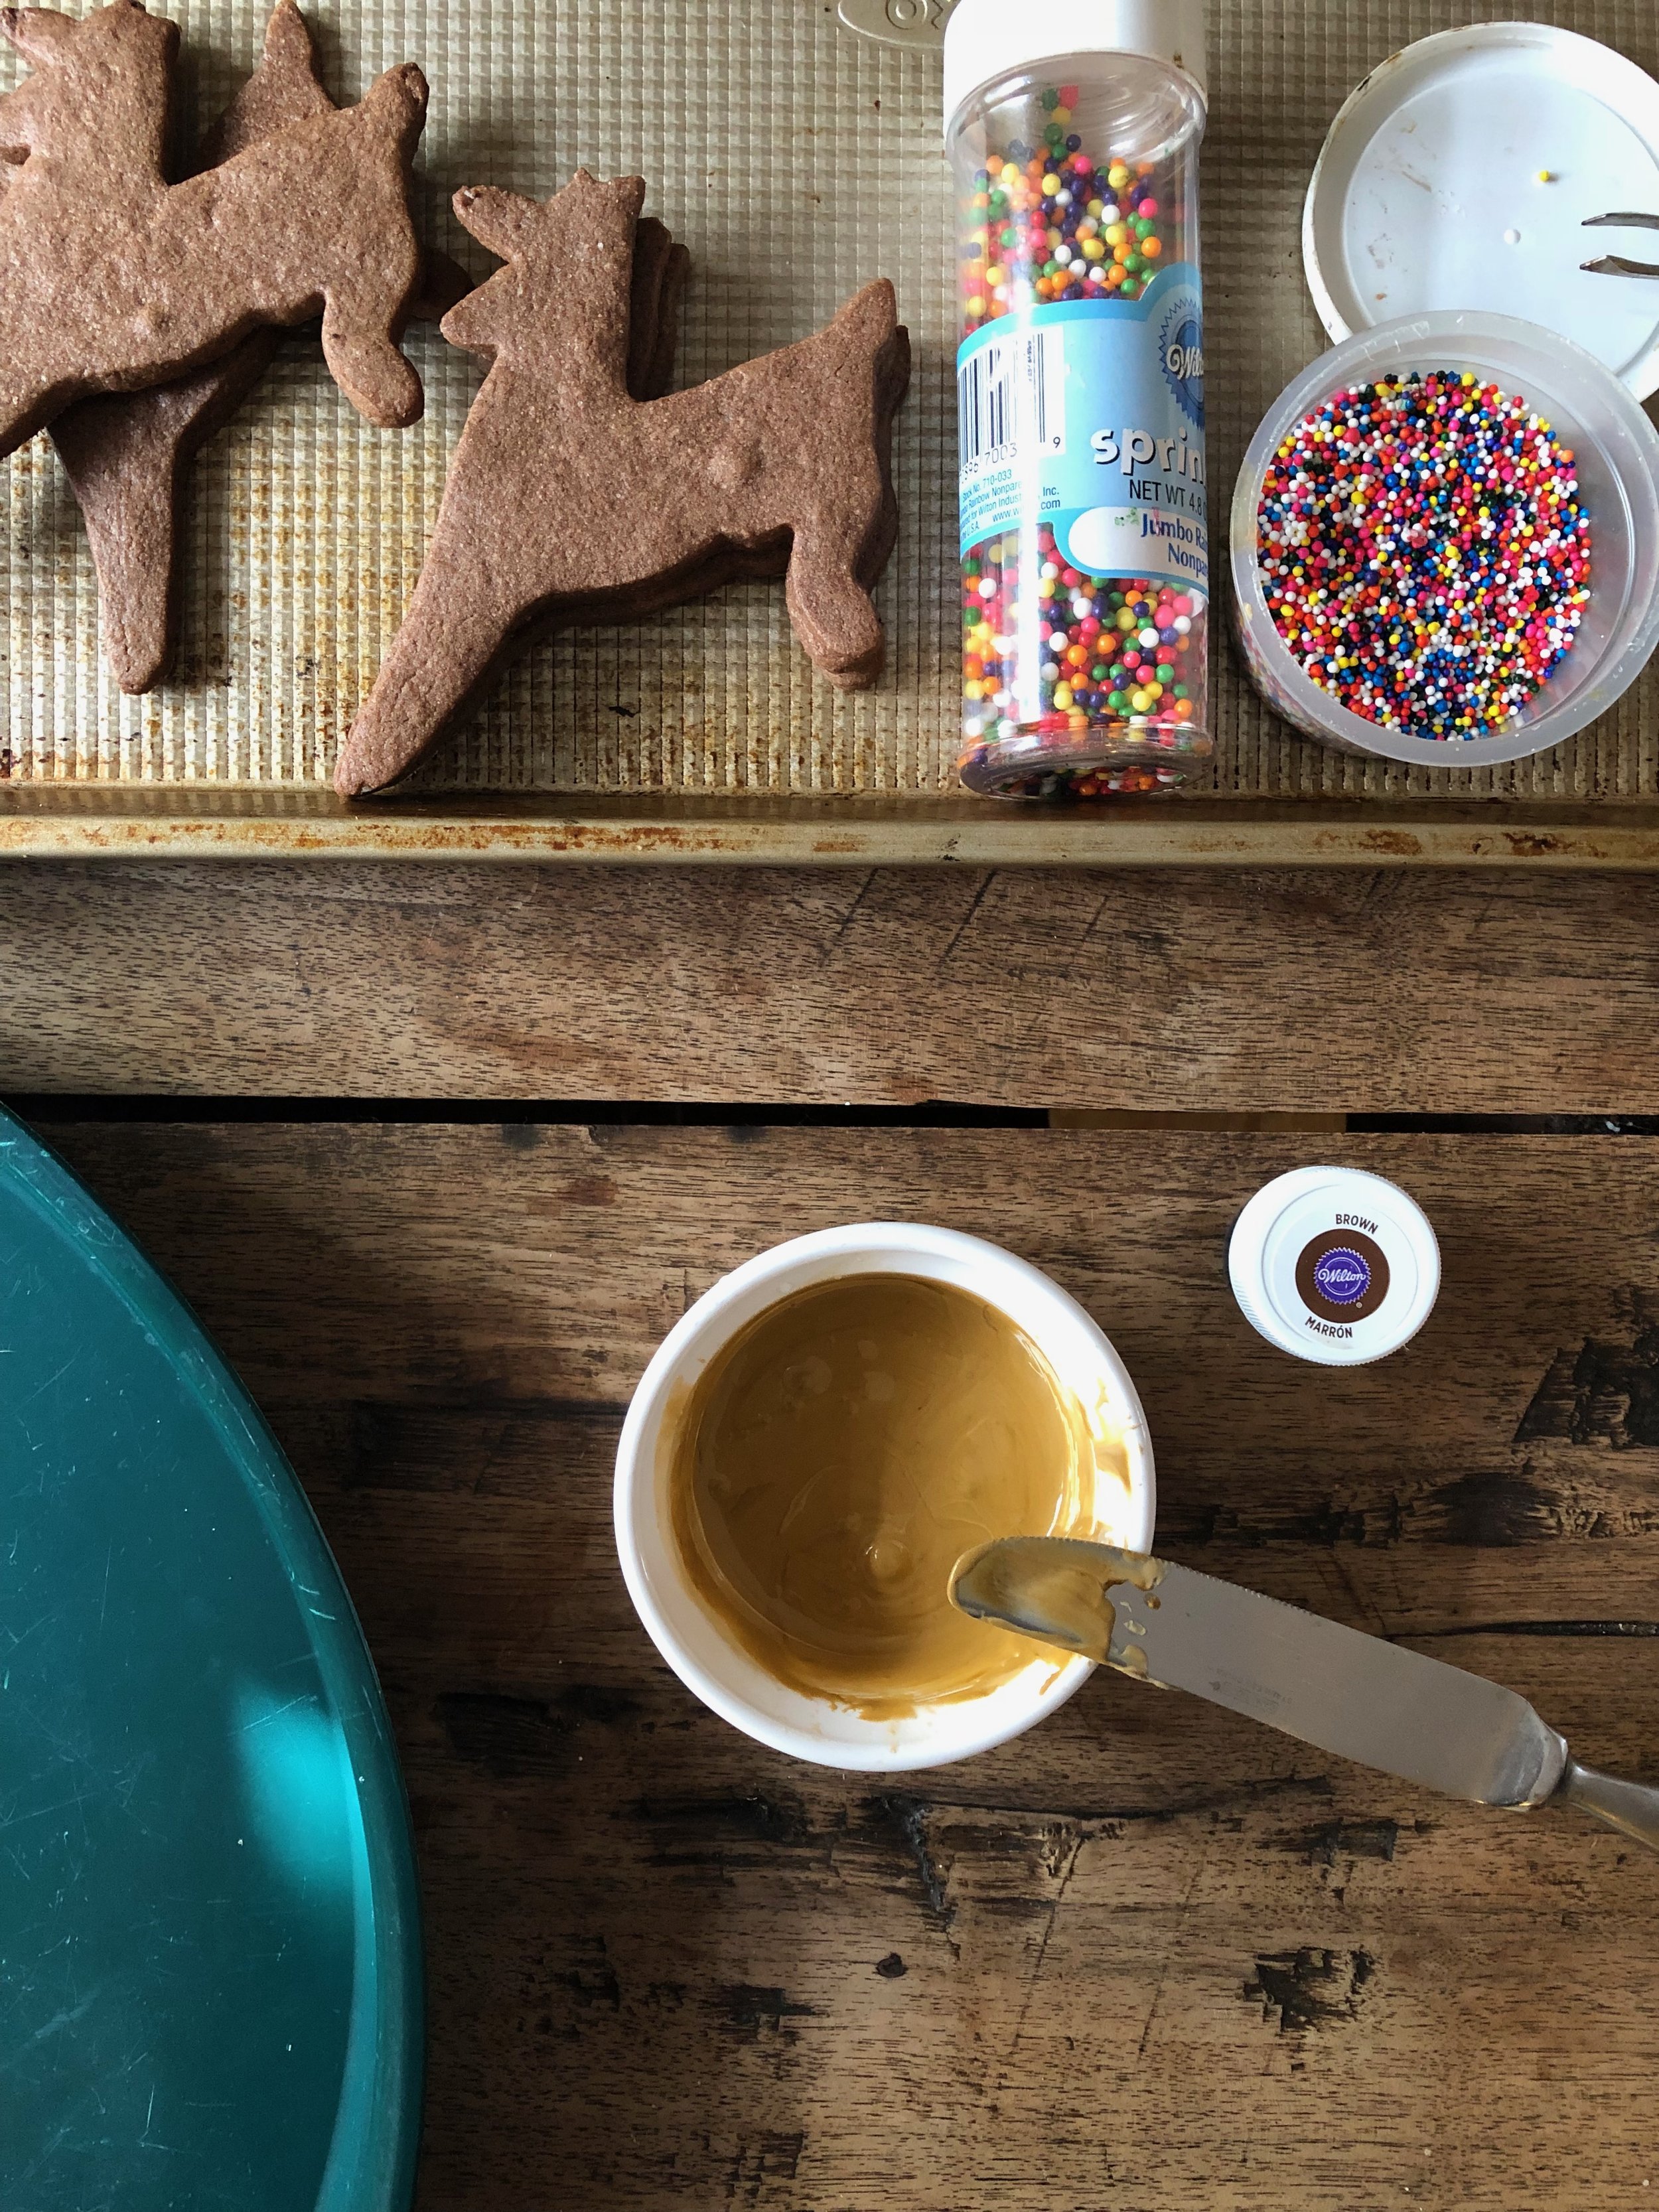
For the trees, I mixed up some natural food coloring (India Tree brand—shown in the photo on the right) to create a deep green color. Yellow + blue = green. To create colored icing, I simply spoon some of the white icing into a small bowl or ramekin and mix in the color with a butter knife. I then use the knife to spread the icing onto each cookie. You can pipe the icing, too, but the knife method works really well for me.
I then gathered up round sprinkles, tiny nonpareils, and edible silver dragées for the designs. You’ll want to spread the green icing over the entire surface of the cookie and then apply your toppings while the icing is still wet. You can apply in either in a random pattern or—my favorite—with tweezers to create strings of lights. Whether you’re a white lights person or a colored lights person, you can make your tree cookies reflect your style.


For the reindeer, I used brown gel food coloring (not natural food coloring, sorry) to create a lighter doe-like color for the deer. I felt that the natural chocolate color was too dark. I spread the brown-tinted icing over the entire surface of the deer, and then each deer got a collar of either small nonpareils or larger round sprinkles, a blue nonpareil for the eye, and a red round sprinkle for a Rudolph nose.


Finally, for the stockings, I started off in a hilarious way. I had some gorgeous fluffy purple glitter that made amazingly beautiful cookies. But then I realized that this purple glitter was not edible—it had been placed in the wrong crafting box! So that stunk… I then proceeded with new stockings. First, I decorated the cuff with white icing that I topped, when still wet, with white sparkling sugar. Once that dried, I covered the rest of the stocking with white icing and topped with red or green sparkling sugar. For the others, I let the white icing dry completely and then brushed on copper and silver luster dust. (I have some eyeshadow brushes that came free with purchase that are perfect for this. No, I never used them with cosmetics. They are for food only!)


You can find all of the decorating supplies at craft stores. They’re a great investment that you can use year after year (I’ve had that luster dust for maybe five years.)
My last bits of advice when you’re decorating Christmas cookies:
If you want to decorate with your kids, you have to let them do their own thing. Let go of your own expectations and let them have fun. (If you want gorgeous cookies for teacher gifts, maybe decorate by yourself after the kiddos go to bed.)
Allow yourself plenty of time to decorate. If this needs to come together in an hour, you’ll drive yourself crazy.
Make sure you have plenty of space to allow the cookies to dry. Once decorated, I place them on either sheet pans or these large plastic platters I have and move them out of reach of my big dog. He has helped himself to food on the table when I’ve turned my back.
Get creative and have fun!