
Lime Shortbread with Cardamom Glaze
/Well, this post is short, sweet, and simple. No step-by-step photos or instruction needed! The cookies are easy to make and pretty hefty in size; one is plenty big to satisfy a sweet craving.
LATEST RECIPES

Well, this post is short, sweet, and simple. No step-by-step photos or instruction needed! The cookies are easy to make and pretty hefty in size; one is plenty big to satisfy a sweet craving.
This simple slice-and-bake cookie gets all gussied up for the holidays with red and green accents from pomegranate and pistachios. The pomegranate is completely optional and will shorten the shelf life of the cookies, but boy is it pretty! I love kosher salt for these cookies. It gives you delicious little pockets of salty goodness throughout—because a one-note sweet treat without a little salt for balance is, well, flat and boring. Please note that there is no egg in this dough; that's not a mistake. This gives the cookies the most wonderful "short" texture that's absolutely irresistible.
Calories 150; Fat 8g (sat 3g); Protein 1g; Carb 19g; Fiber 2g; Sugars 8g (added sugars 8g); Sodium 25mg

I just love these spiced chocolate sugar cookies! They taste like Mexican chocolate, with cinnamon warming the sweet chocolate notes. I use just a little bit of cocoa for more of a milk chocolate flavor than a dark chocolate one. See the notes below the recipe card for ingredient/decorating tips.
Since no one in my family likes gingerbread cookies (except me), I decided to create some cookies that look like them and have a little bit of spice to jazz them up. The flavor is reminiscent of Mexican chocolate, with the zip of cinnamon perking up sweet chocolate notes (I use just a little bit of cocoa to create more of a milk chocolate vibe than a dark chocolate flavor).
Calories 96; Fat 5g (sat 2g); Protein 1g; Carb 13g; Fiber 1g; Sugars 7g (added sugars 7g); Sodium 19mg
Another critical ingredient for these cookies is meringue powder, which helps the icing set up hard so that you can stack and package the cookies with no worries of destroying your beautiful decorations. You can find it in the baking section of craft stores.

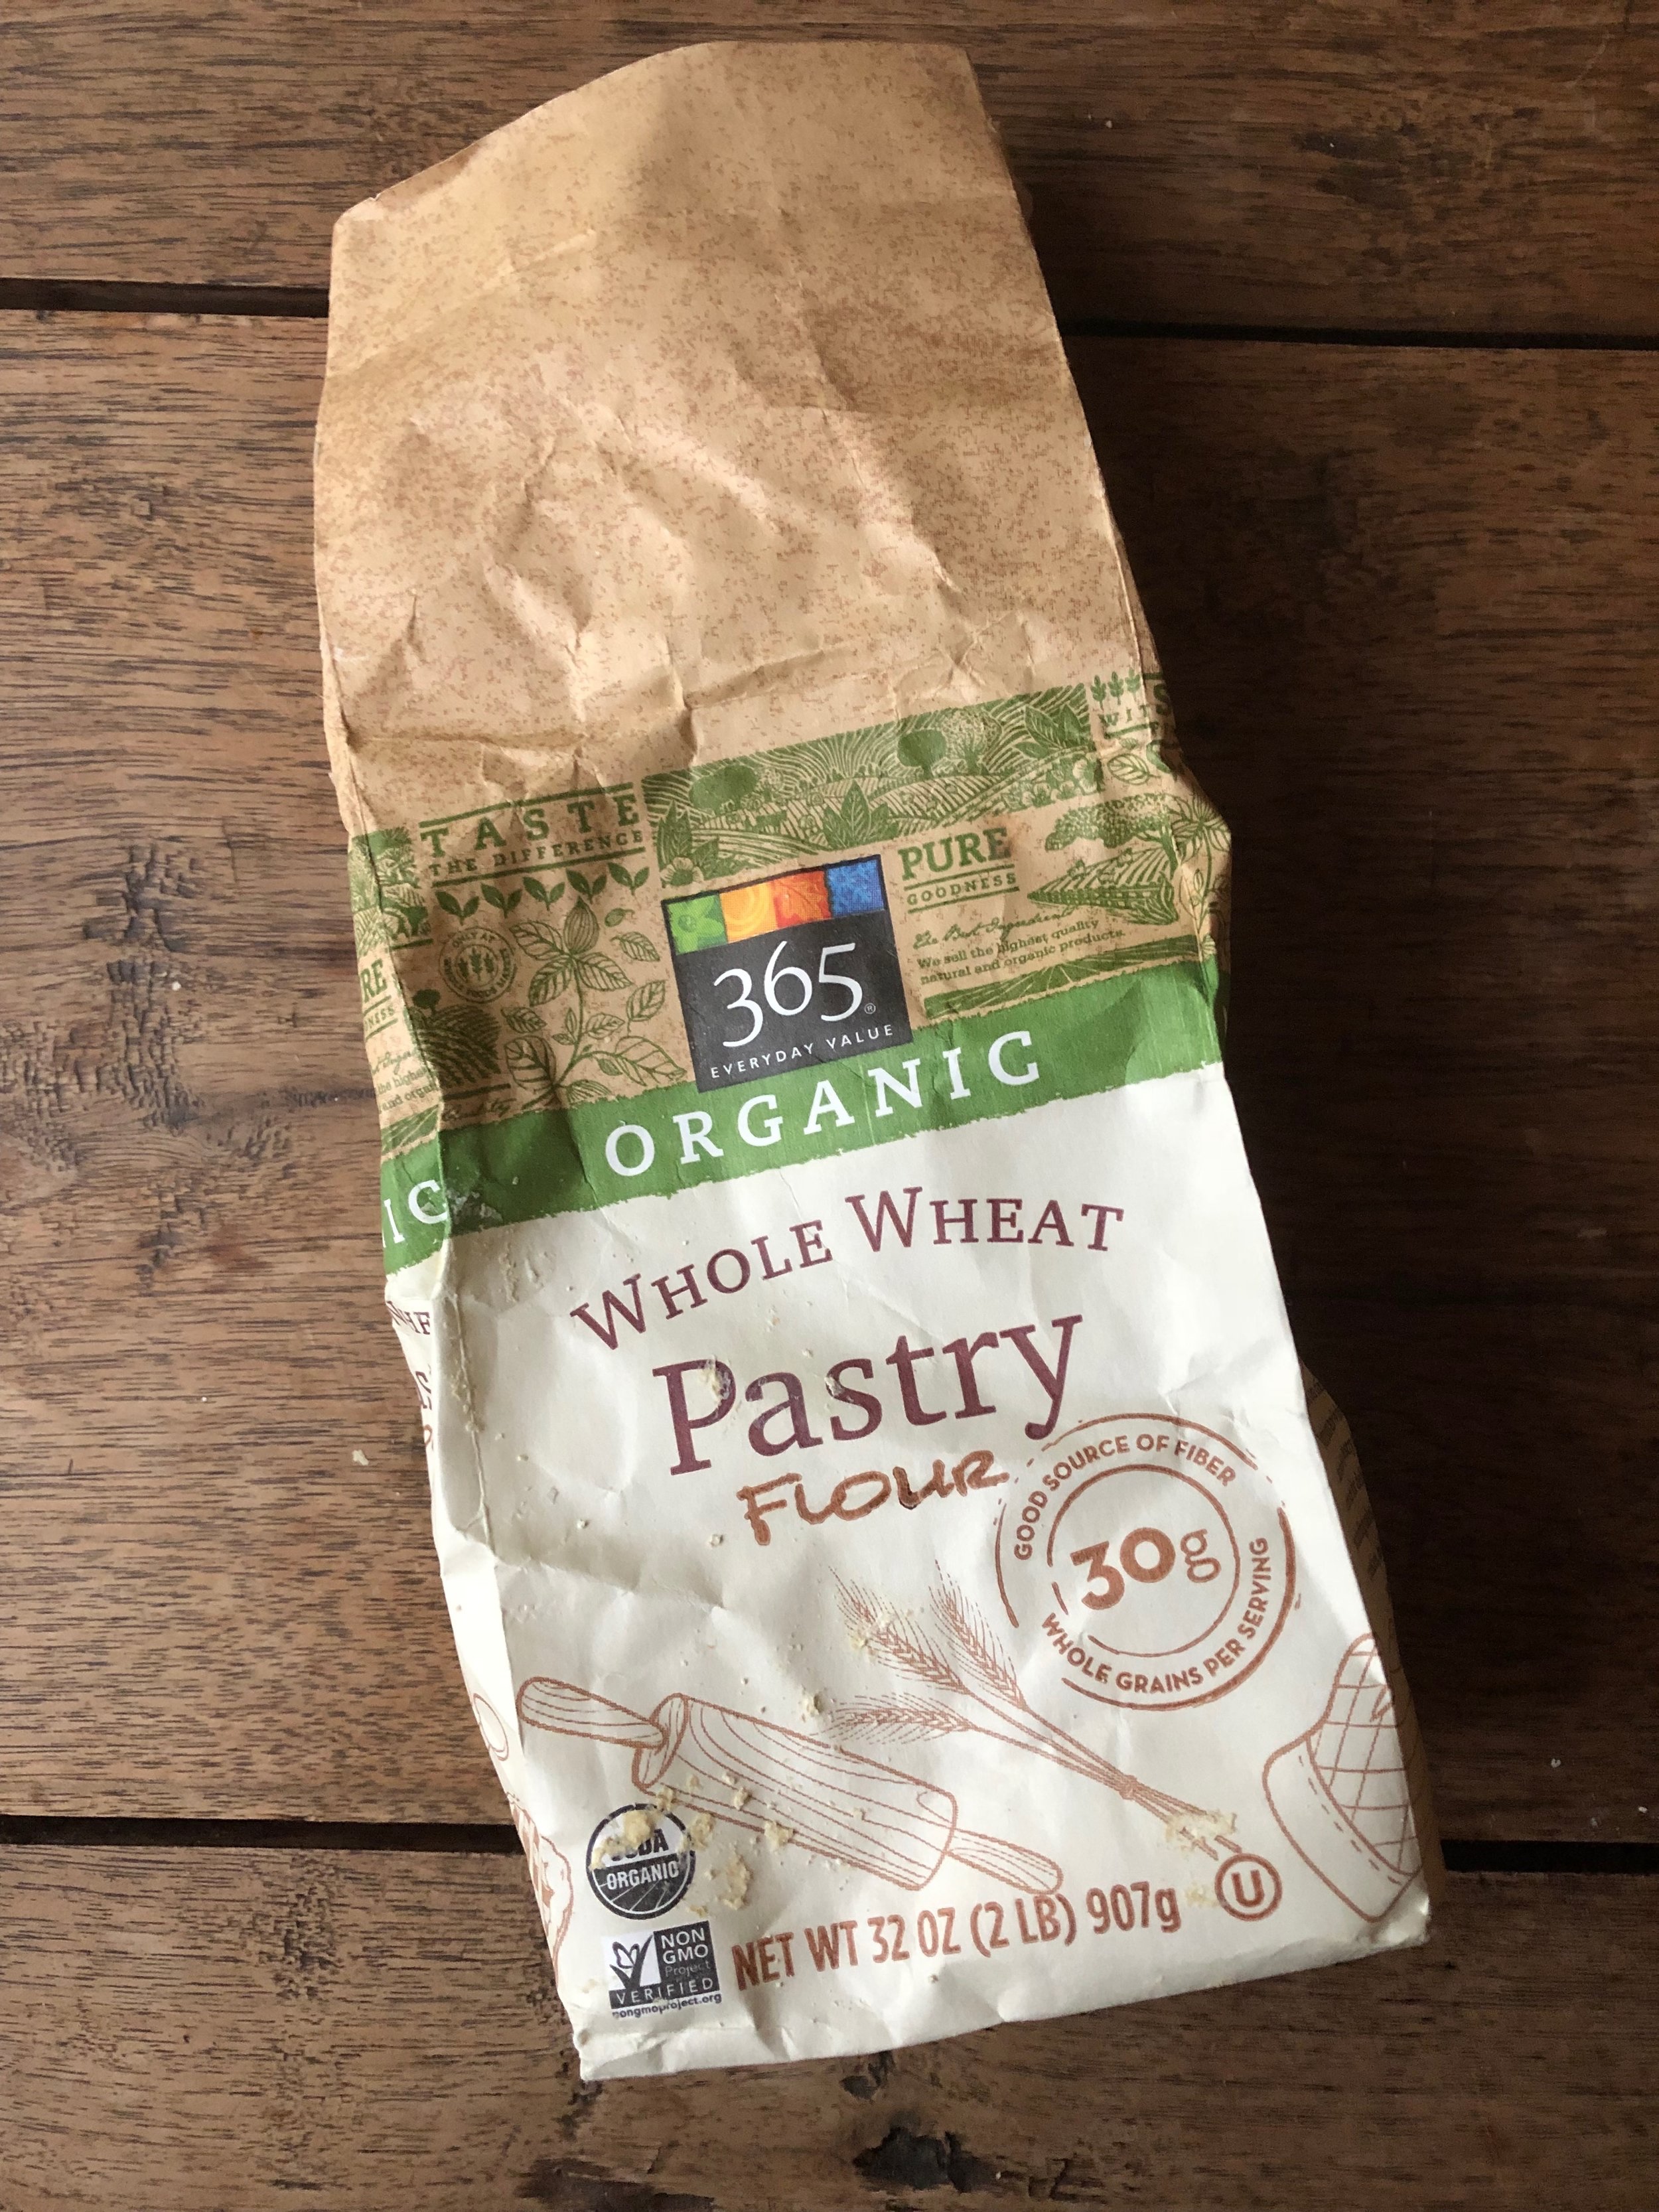
One of my favorite ingredients ever is whole-wheat pastry flour. I’ve touted it before, and I’ll do so here again! Its fine texture works beautifully in all types of baking recipes, and it allows me to make 100% whole-grain treats with great texture. Here’s the kind I use (the house brand from Whole Foods).
Now for the fun part, the decorations. Piping is easy and goes quickly. You can use a piping bag with a #1 or #2 tip (which is what I did), or use a zip-top plastic bag and cut a tiny hole in one corner to pipe from. My piping skills are not very good, but the cookies still look pretty great!

For the trees, I mixed up some natural food coloring (India Tree brand—shown in the photo on the right) to create a deep green color. Yellow + blue = green. To create colored icing, I simply spoon some of the white icing into a small bowl or ramekin and mix in the color with a butter knife. I then use the knife to spread the icing onto each cookie. You can pipe the icing, too, but the knife method works really well for me.
I then gathered up round sprinkles, tiny nonpareils, and edible silver dragées for the designs. You’ll want to spread the green icing over the entire surface of the cookie and then apply your toppings while the icing is still wet. You can apply in either in a random pattern or—my favorite—with tweezers to create strings of lights. Whether you’re a white lights person or a colored lights person, you can make your tree cookies reflect your style.


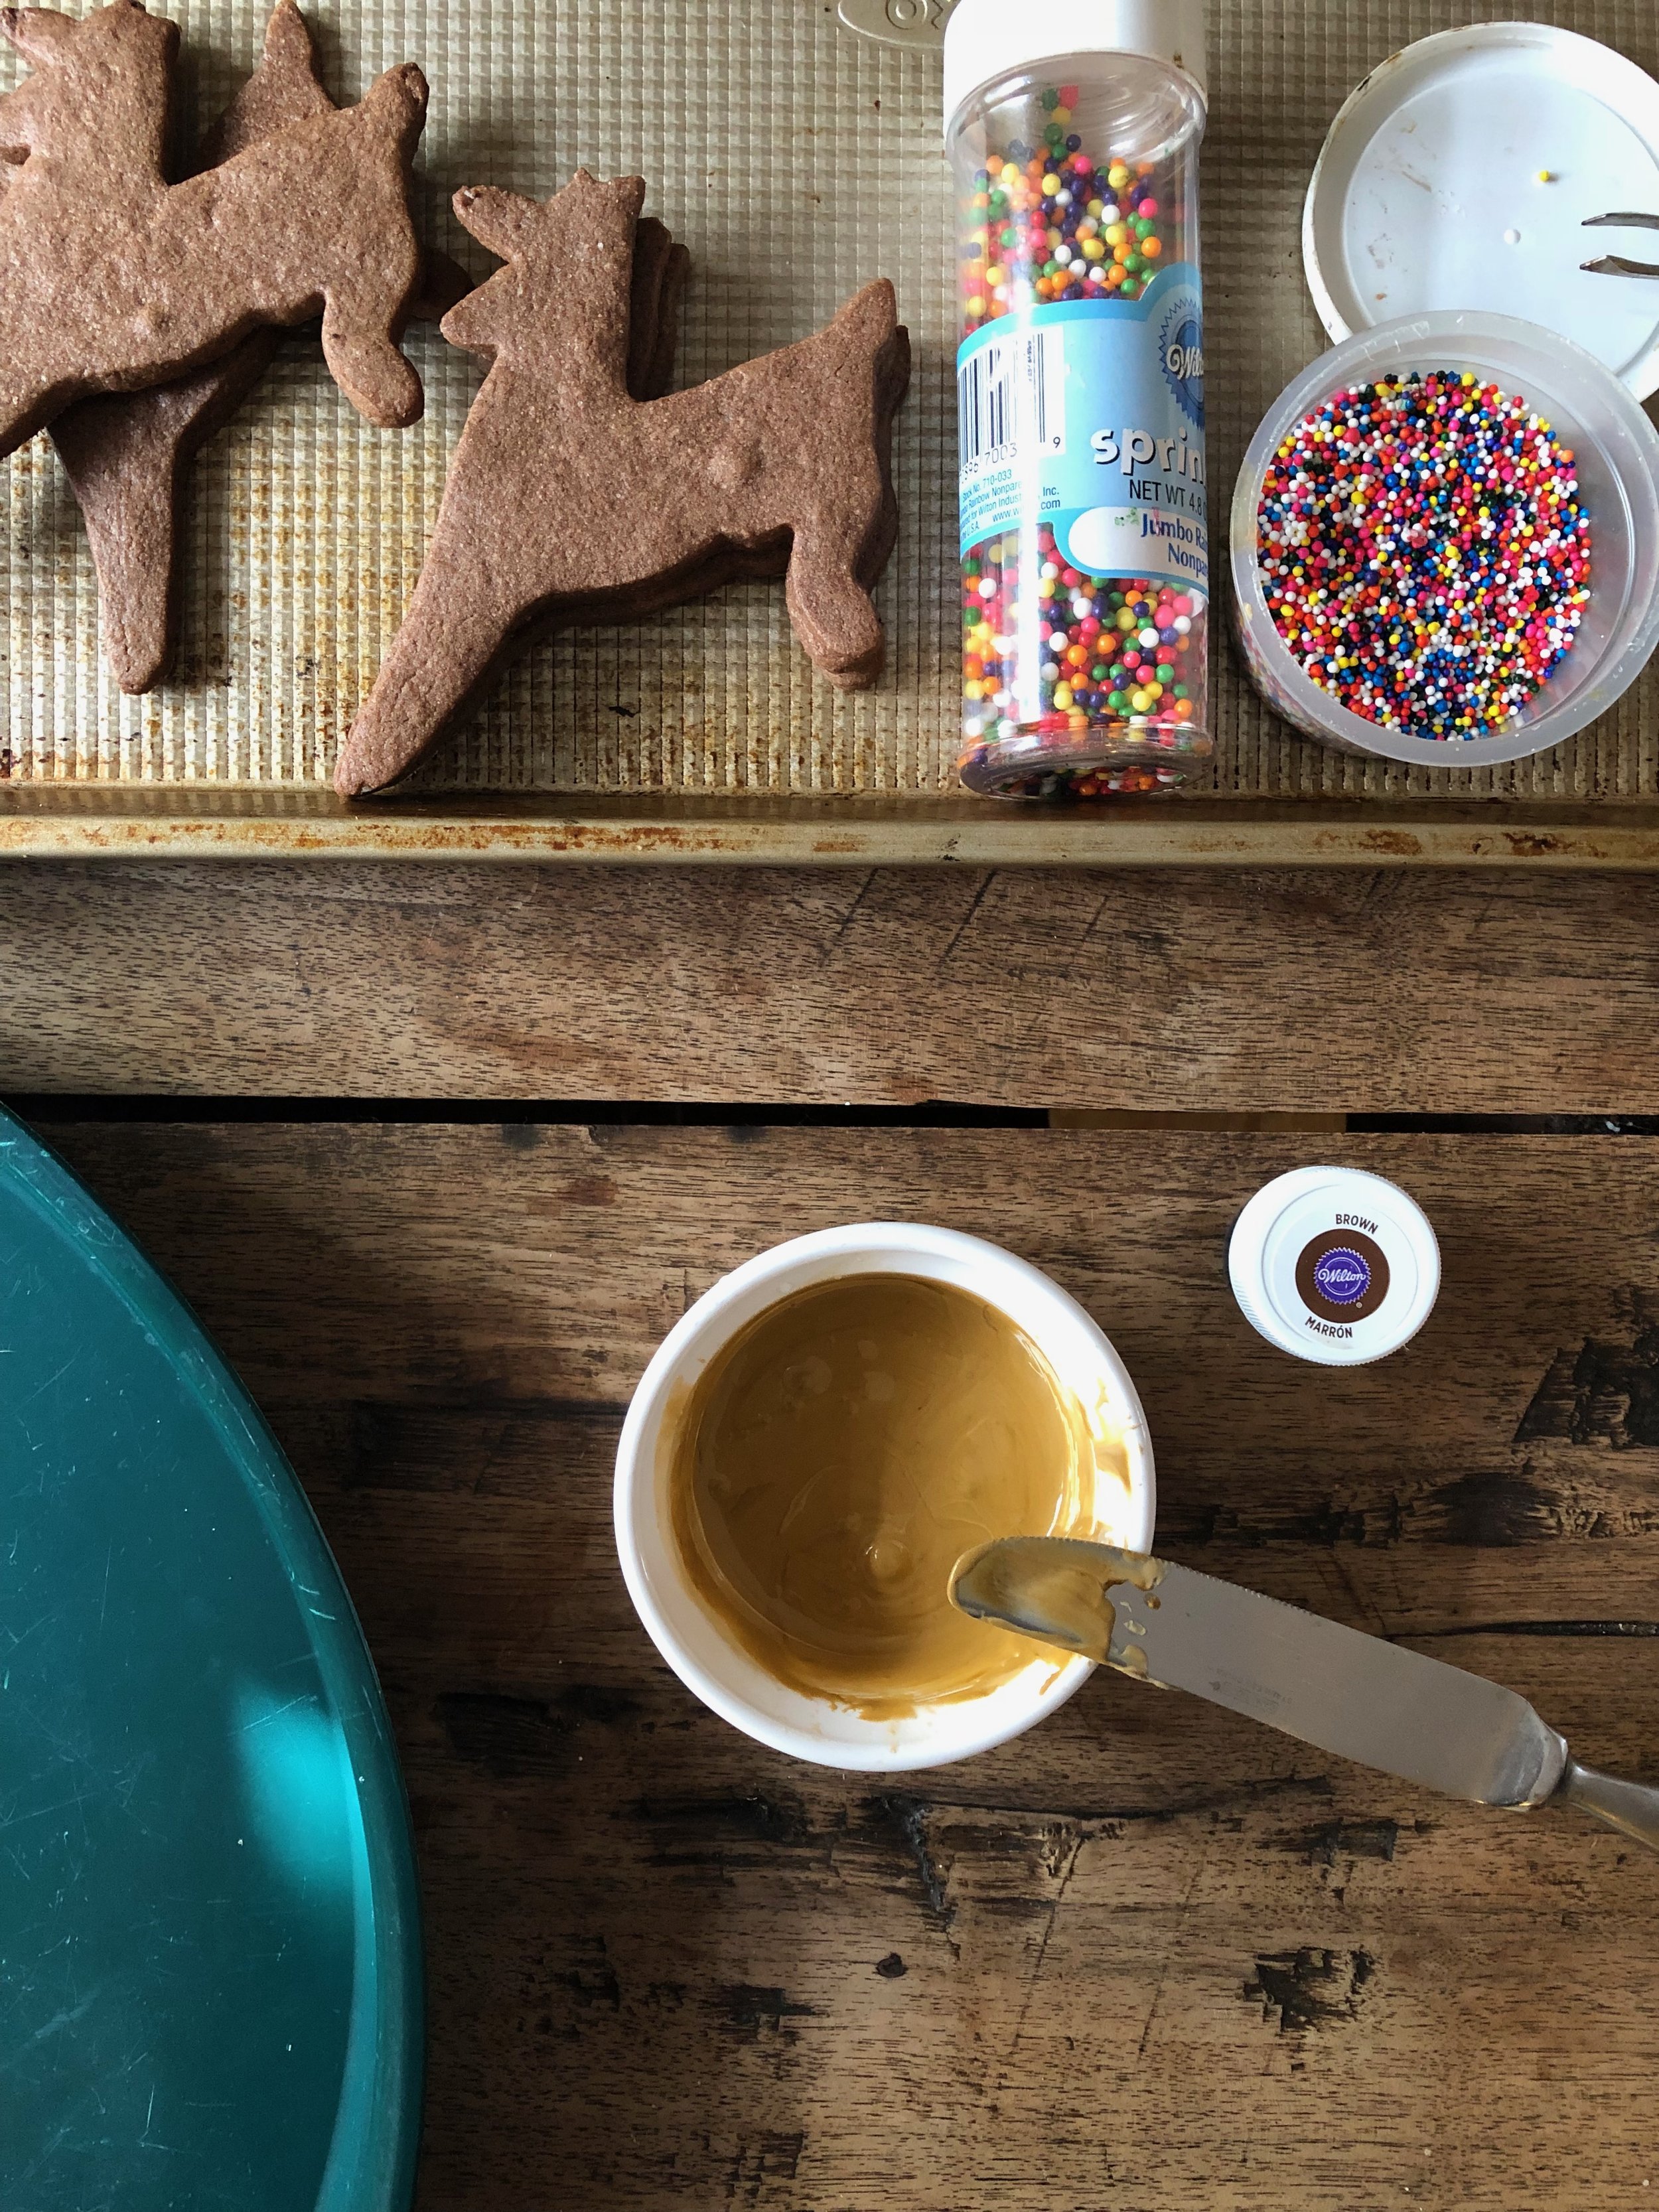
For the reindeer, I used brown gel food coloring (not natural food coloring, sorry) to create a lighter doe-like color for the deer. I felt that the natural chocolate color was too dark. I spread the brown-tinted icing over the entire surface of the deer, and then each deer got a collar of either small nonpareils or larger round sprinkles, a blue nonpareil for the eye, and a red round sprinkle for a Rudolph nose.


Finally, for the stockings, I started off in a hilarious way. I had some gorgeous fluffy purple glitter that made amazingly beautiful cookies. But then I realized that this purple glitter was not edible—it had been placed in the wrong crafting box! So that stunk… I then proceeded with new stockings. First, I decorated the cuff with white icing that I topped, when still wet, with white sparkling sugar. Once that dried, I covered the rest of the stocking with white icing and topped with red or green sparkling sugar. For the others, I let the white icing dry completely and then brushed on copper and silver luster dust. (I have some eyeshadow brushes that came free with purchase that are perfect for this. No, I never used them with cosmetics. They are for food only!)


You can find all of the decorating supplies at craft stores. They’re a great investment that you can use year after year (I’ve had that luster dust for maybe five years.)
My last bits of advice when you’re decorating Christmas cookies:
If you want to decorate with your kids, you have to let them do their own thing. Let go of your own expectations and let them have fun. (If you want gorgeous cookies for teacher gifts, maybe decorate by yourself after the kiddos go to bed.)
Allow yourself plenty of time to decorate. If this needs to come together in an hour, you’ll drive yourself crazy.
Make sure you have plenty of space to allow the cookies to dry. Once decorated, I place them on either sheet pans or these large plastic platters I have and move them out of reach of my big dog. He has helped himself to food on the table when I’ve turned my back.
Get creative and have fun!

I’m trying to get ahead for Thanksgiving. My kids are out of school the entire week, and I’ll happily have a houseful of extended family, too. And that, of course, includes my dad, who suffers from celiac disease. I’m always looking for good gluten-free recipes for him—especially desserts, as he has quite a sweet tooth. I wanted a casual cake that I could have on hand for general snacking but that would also be good enough to put out with the holiday feast. And I got there with this recipe. I cannot even express how pleased I am with this cake; it’s one my favorite desserts I’ve ever created, gluten-free or not. My kids agree: They even asked to have it at their birthday party last week! (We ended up opting for something else, but still—they requested it!) Keep reading below the recipe card for some tips and process photos!
I am so happy with how this cake turned out! It comes together in one bowl, and it's moist, tender, and absolutely full of apple flavor. The key is to use Honeycrisp apples, which perfume the whole pan and work some real magic: The batter smells like fresh-pressed cider, and the whole cake tastes as if you somehow crammed the essence of 500 apples into it. My kids went bonkers for it. Connor, in all earnestness, put his hand on my shoulder and said, "Mom. It's really, really good." I can't ask for more than that.
Calories 261; Fat 12g (sat 2g); Protein 6g; Carb 35g; Fiber 3g; Sugars 27g (added sugars 23g); Sodium 133mg
As I mentioned above, I needed a gluten-free dessert for my dad—and I wanted one that everyone else would love, too. I was unwilling to settle for anything that folks would say was good for a gluten-free cake. That would not be good enough. Thankfully, after a little trial and error, I got there. This cake is just flat-out GOOD. It’s gluten-free, relying on almond flour and gluten-free all-purpose flour (also make sure your baking powder is gluten-free). This is the a-p flour I used:

A little bit of this gluten-free a-p flour lightens the texture of the almond flour, giving the cake a moist, tender texture. (Almond flour alone would produce a dense cake.) Next, the apple variety you use is crucial. And I contend that the only choice is Honeycrisp. It gives a ton of concentrated apple-y flavor, much more than other varieties. I originally tried chopping the apple, but it remained a little too crunchy in the finished cake. So I switched to shredding the apple, and holy cow did that work well! The little apple shreds melt into the batter and distribute the flavor more thoroughly into every bite.

After the cake bakes, make sure to allow it to cool completely. If it’s warm when you top with the icing, you may tear off the tender top layer of the cake as you try to spread, getting crumbs all in the icing. (You may still get a few crumbs in there with a cooled cake, but only a few.)

Use a sharp, thin knife to cut the cake. It’s so tender that it’s a little tricky to cut—not a bad problem if you ask me! And one of the best things about a snack cake is that you can just keep it in the pan and serve straight from there. (Keep leftovers in the fridge since there’s dairy in the frosting.)

This site showcases recipe development, writing, and services offered by Ann Taylor Pittman.
Powered by Squarespace.