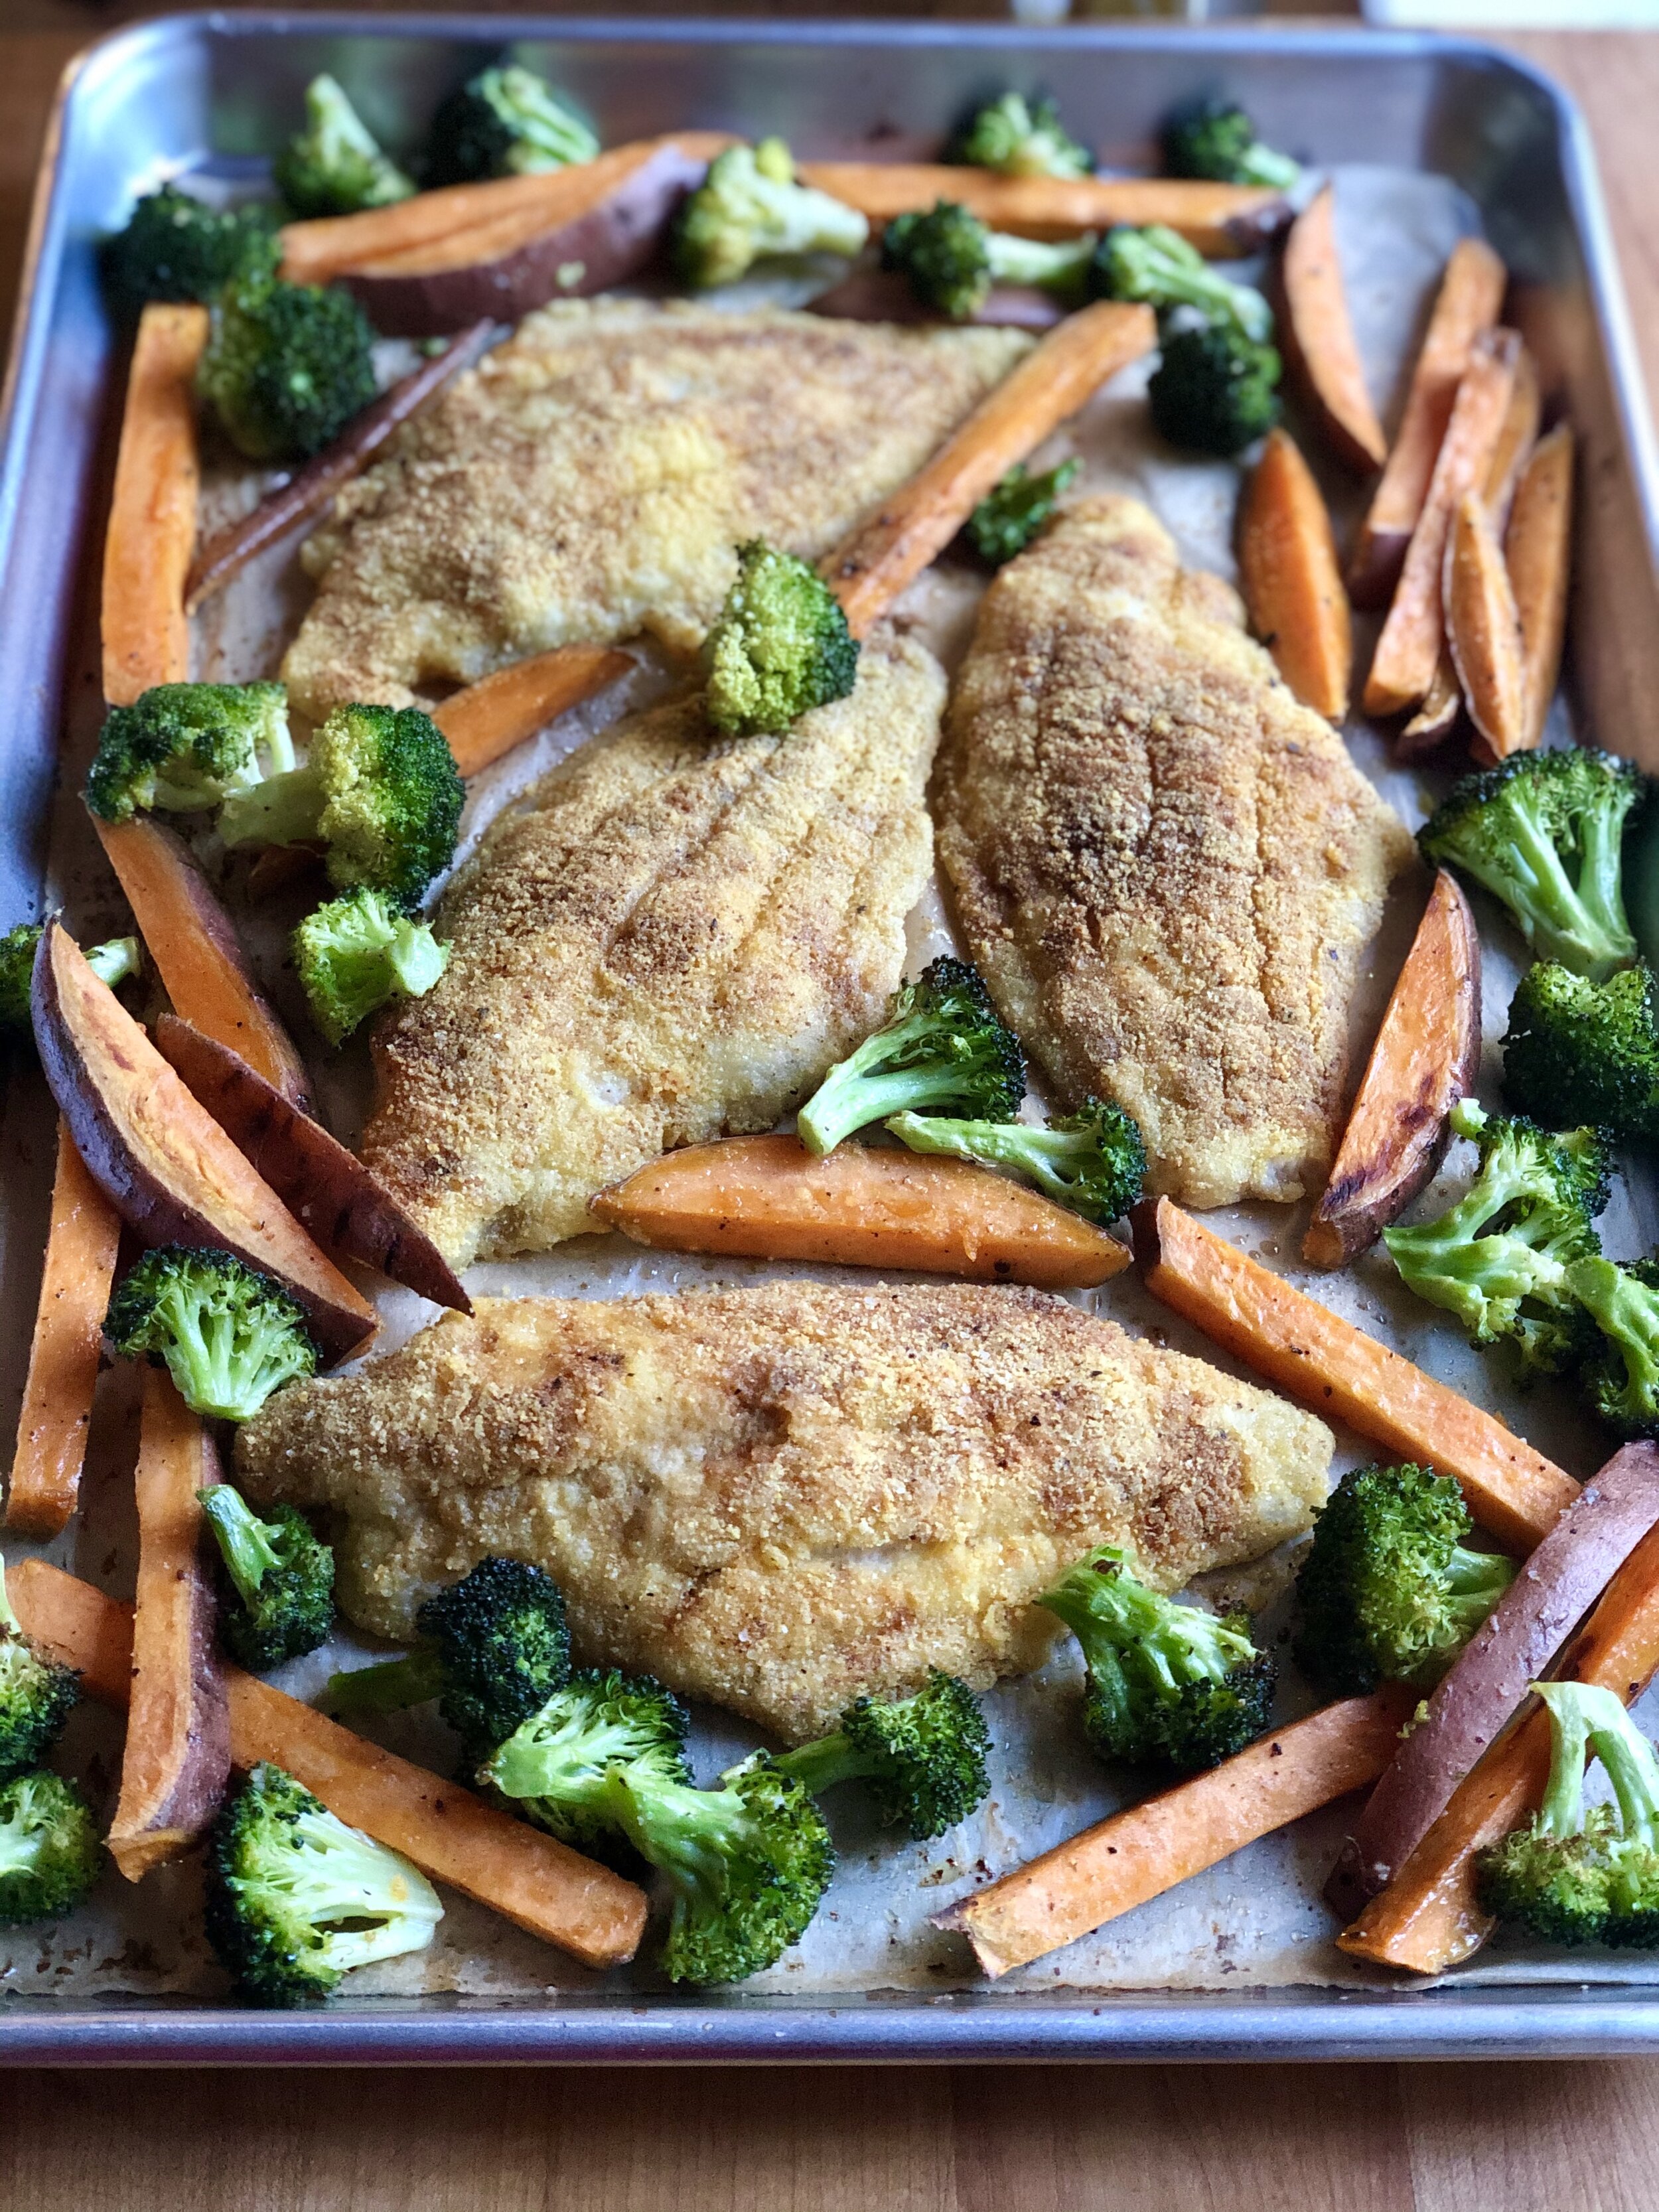
Sheet Pan Catfish Dinner
/
*sponsored post
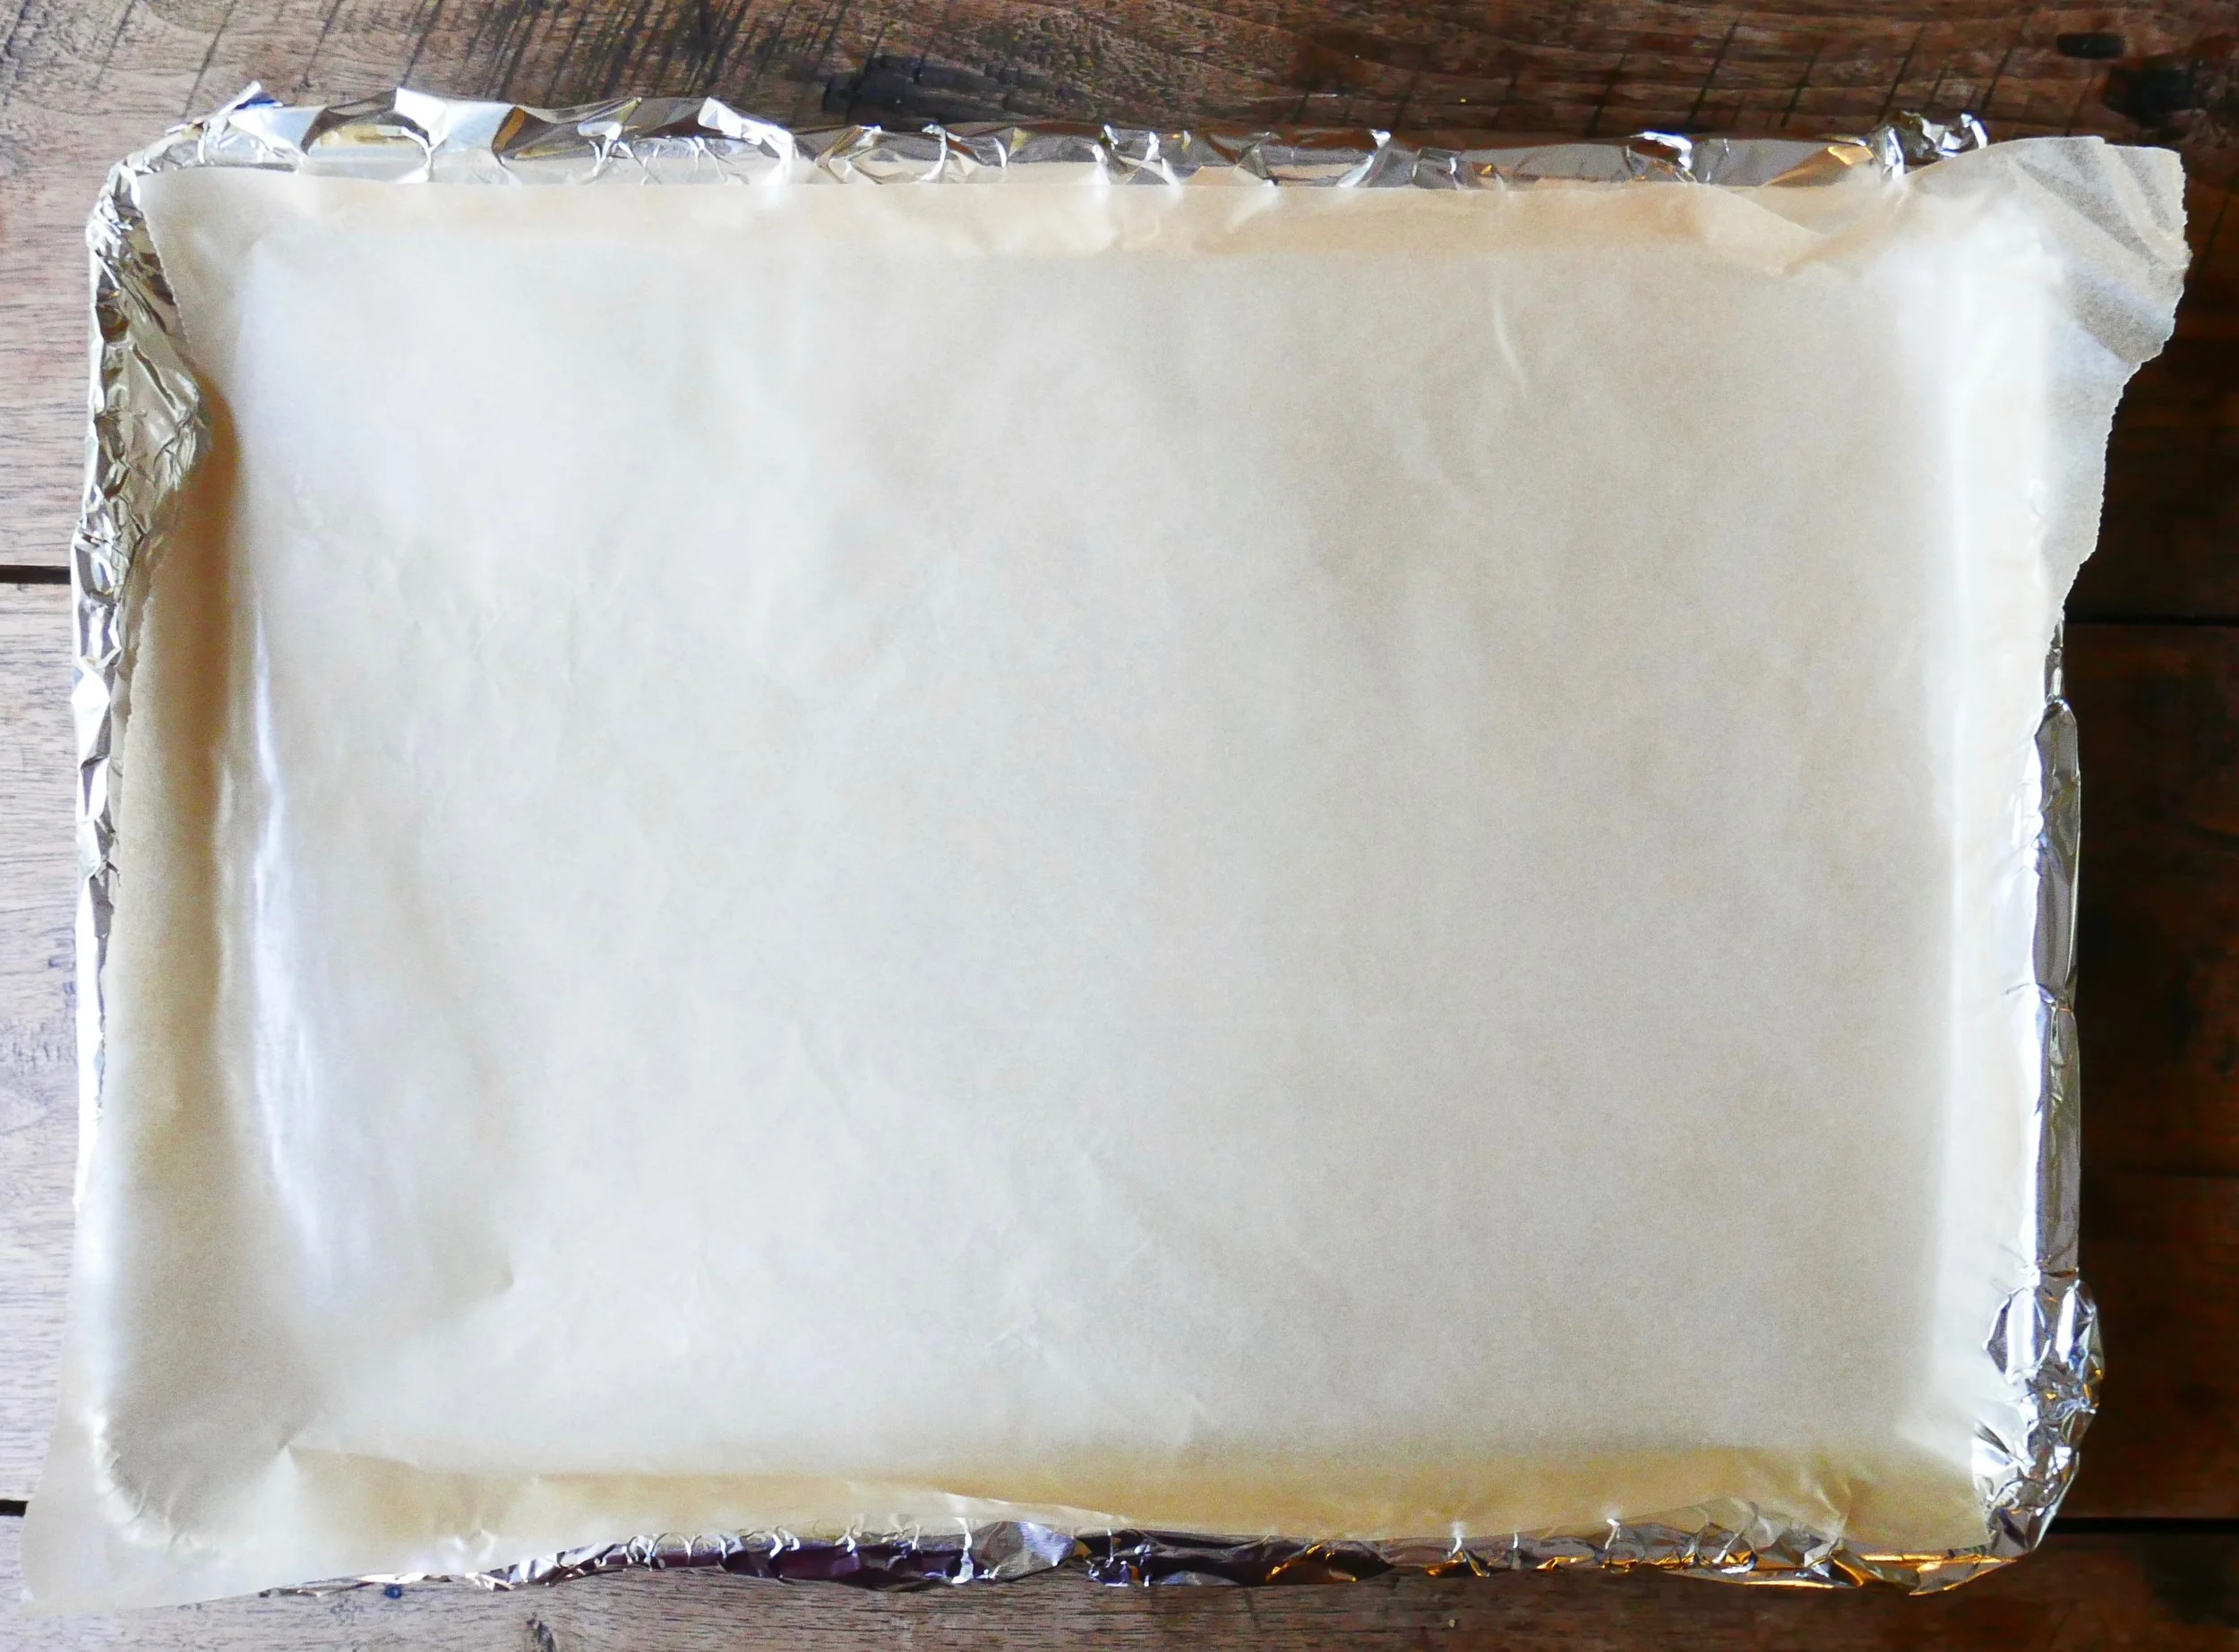
When time is tight and I just don’t feel like stirring and sautéing my way to dinner—and I really don’t feel like washing pots and pans—thank goodness I can rely on a good sheet pan dinner. Everything cooks together on a lined sheet pan (that I don’t have to wash), and I bring that pan out to the table as the “platter” we serve ourselves from. It feels fun and casual, and I feel good knowing that, even with minimal effort, I’ve put a healthy dinner on the table for my family.
I created this Sheet Pan Catfish Dinner because I knew it would be a surefire hit with my family, boasting our favorite veggies, our most-loved fish, and a lovely assortment of textures. Sweet potato “fries” get a head start on cooking so that they’ll be buttery tender inside, with some caramelized crunchy bits outside. The broccoli goes on later so that it ends up with a crisp-tender texture and some frizzled parts, too. But the real star of this dinner is the oven-fried catfish. It bakes up crispy on the outside, moist and tender on the inside, and perfectly seasoned bite after bite. And, with U.S. Farm-Raised Catfish, I know the flavor will be reliably mild and buttery, and the fish will be sustainably raised. It’s a dinner that makes me feel good for so many reasons.